ansheng’s blog!
HashLips Art Engine批量创建NFT盲盒的艺术作品
HashLips Art Engine是一种工具,用于根据提供的图层创建多个不同的艺术作品实例,在我们进行NFT开发和测试的时候会非常有用,可以快速生成NFT图片以及metadata。
安装
M1的macOS系统上可能会有一些BUG,导致npm i的时候会出现一些错误,所以我们需要使用nvm 将node版本锁定在14.19.1
curl -o- https://raw.githubusercontent.com/nvm-sh/nvm/v0.39.1/install.sh | bash
nvm install v14.19.1
nvm use v14.19.1
- 下载源代码
cd WorkSpaces
git clone https://github.com/HashLips/hashlips_art_engine.git
- macOS安装pkg-config依赖包
brew install pkg-config
- 安装npm包
cd hashlips_art_engine
npm i
使用
默认情况下HashLips Art Engine提供了一些图层文件,在layers目录中,迫于没有美术功底,我就用默认的图层来生成NFT图片了。
- 修改配置
我们编辑src/config.js这个文件,主要关注一下两块配置
$ vim src/config.js
// General metadata for Ethereum
const namePrefix = "Your Collection";                       # 专辑的名称
const description = "Remember to replace this description"; # 专辑的描述
const baseUri = "ipfs://NewUriToReplace";                   # NFT图片的baseUri

// If you have selected Solana then the collection starts from 0 automatically
const layerConfigurations = [
  {
    growEditionSizeTo: 5, # 生成的NFT数量
    layersOrder: [        # 使用到的图层
      { name: "Background" },
      { name: "Eyeball" },
      { name: "Eye color" },
      { name: "Iris" },
      { name: "Shine" },
      { name: "Bottom lid" },
      { name: "Top lid" },
    ],
  },
];
修改后的配置如下
// General metadata for Ethereum// General metadata for Ethereum
const namePrefix = "Nano Meta";
const description = "There are so many eyes";
const baseUri = "ipfs://NewUriToReplace"; // 暂时不修改,等待图片上传完之后在更新

// If you have selected Solana then the collection starts from 0 automatically
const layerConfigurations = [
  {
    growEditionSizeTo: 10, // 我这里测试,只生成10个
    layersOrder: [
      { name: "Background" },
      { name: "Eyeball" },
      { name: "Eye color" },
      { name: "Iris" },
      { name: "Shine" },
      { name: "Bottom lid" },
      { name: "Top lid" },
    ],
  },
];
- 构建图片
$ npm run build

> hashlips_art_engine@1.1.1 build /Users/ansheng/WorkSpaces/hashlips_art_engine
> node index.js

Created edition: 1, with DNA: 82604ee19889e166553f901f9b6d9ae6ecc203eb
Created edition: 2, with DNA: 01f773ac1b5a67929370a6ff1ed5cef02cf13625
Created edition: 3, with DNA: a07a9dad7fa467f9841644fe96e551bec34fca68
Created edition: 4, with DNA: c100cb4bb0b08a900640ce891811d76f2625e75d
Created edition: 5, with DNA: 92d6f5150aead5820b188bc56464b5e1961b160b
Created edition: 6, with DNA: f795dbbebbe18288e2db37c0dcf21e202823d597
Created edition: 7, with DNA: 6ad93304c3aa6b52ed9f8271d06a3ad1bee0927c
Created edition: 8, with DNA: 59ed9aa1f8dba18e866485aeda070367f75a8c6f
Created edition: 9, with DNA: a21ae2bb43ab2b5f2448ac5d96404e72e9198781
Created edition: 10, with DNA: d47b0a25b0dda3139a44cbb2d27d8975026f7683
build完成之后,图片保存在build/images目录下,json文件保存在build/json中
$ tree ./build
./build
├── images
│   ├── 1.png
│   ├── 10.png
│   ├── 2.png
│   ├── 3.png
│   ├── 4.png
│   ├── 5.png
│   ├── 6.png
│   ├── 7.png
│   ├── 8.png
│   └── 9.png
└── json
    ├── 1.json
    ├── 10.json
    ├── 2.json
    ├── 3.json
    ├── 4.json
    ├── 5.json
    ├── 6.json
    ├── 7.json
    ├── 8.json
    ├── 9.json
    └── _metadata.json # 包含了所有1-10.json文件的内容

2 directories, 21 files
单个JSON的文件内容如下
$ cat build/json/1.json
{
  "name": "Nano #1",
  "description": "There are so many eyes",
  "image": "ipfs://NewUriToReplace/1.png",
  "dna": "82604ee19889e166553f901f9b6d9ae6ecc203eb",
  "edition": 1,
  "date": 1649750768731,
  "attributes": [
    {
      "trait_type": "Background",
      "value": "Black"
    },
    {
      "trait_type": "Eyeball",
      "value": "Red"
    },
    {
      "trait_type": "Eye color",
      "value": "Yellow"
    },
    {
      "trait_type": "Iris",
      "value": "Large"
    },
    {
      "trait_type": "Shine",
      "value": "Shapes"
    },
    {
      "trait_type": "Bottom lid",
      "value": "Low"
    },
    {
      "trait_type": "Top lid",
      "value": "Low"
    }
  ],
  "compiler": "HashLips Art Engine"
}
如果你需要为JSON文件中添加额外的属性,可以修改配置文件中的extraMetadata值
$ vim src/config.js
const extraMetadata = {
  creator: "ansheng"
};
如果不需要,则把extraMetadata留空对象即可
$ vim src/config.js
const extraMetadata = {};
重新build并查看添加的属性是否存在
$ npm run build

> hashlips_art_engine@1.1.1 build /Users/ansheng/WorkSpaces/hashlips_art_engine
> node index.js

Created edition: 1, with DNA: 749f101fac6b14a3ad2024d979ad264167b8f104
Created edition: 2, with DNA: a07a9dad7fa467f9841644fe96e551bec34fca68
Created edition: 3, with DNA: 75e313cf2f54b7abcff09a7cab8c557510ab0c80
Created edition: 4, with DNA: 82604ee19889e166553f901f9b6d9ae6ecc203eb
Created edition: 5, with DNA: d47b0a25b0dda3139a44cbb2d27d8975026f7683
Created edition: 6, with DNA: 612a13c421814fcdcd61b46d8399545bb8315c51
Created edition: 7, with DNA: 92d6f5150aead5820b188bc56464b5e1961b160b
Created edition: 8, with DNA: 37cda7f93ee93360424a22fddcc0ee5a81dce08d
Created edition: 9, with DNA: 2214750725e427806ee97a1510f514475056fce7
Created edition: 10, with DNA: 3ee454e9b559fde1b9cc73f6a743c9b12105d1e5

$ cat build/json/1.json
{
  "name": "Nano #1",
  "description": "There are so many eyes",
  "image": "ipfs://NewUriToReplace/1.png",
  "dna": "749f101fac6b14a3ad2024d979ad264167b8f104",
  "edition": 1,
  "date": 1649751292195,
  "creator": "ansheng", # 已添加上
  "attributes": [
    {
      "trait_type": "Background",
      "value": "Black"
    },
    {
      "trait_type": "Eyeball",
      "value": "White"
    },
    {
      "trait_type": "Eye color",
      "value": "Yellow"
    },
    {
      "trait_type": "Iris",
      "value": "Large"
    },
    {
      "trait_type": "Shine",
      "value": "Shapes"
    },
    {
      "trait_type": "Bottom lid",
      "value": "Middle"
    },
    {
      "trait_type": "Top lid",
      "value": "Middle"
    }
  ],
  "compiler": "HashLips Art Engine"
}
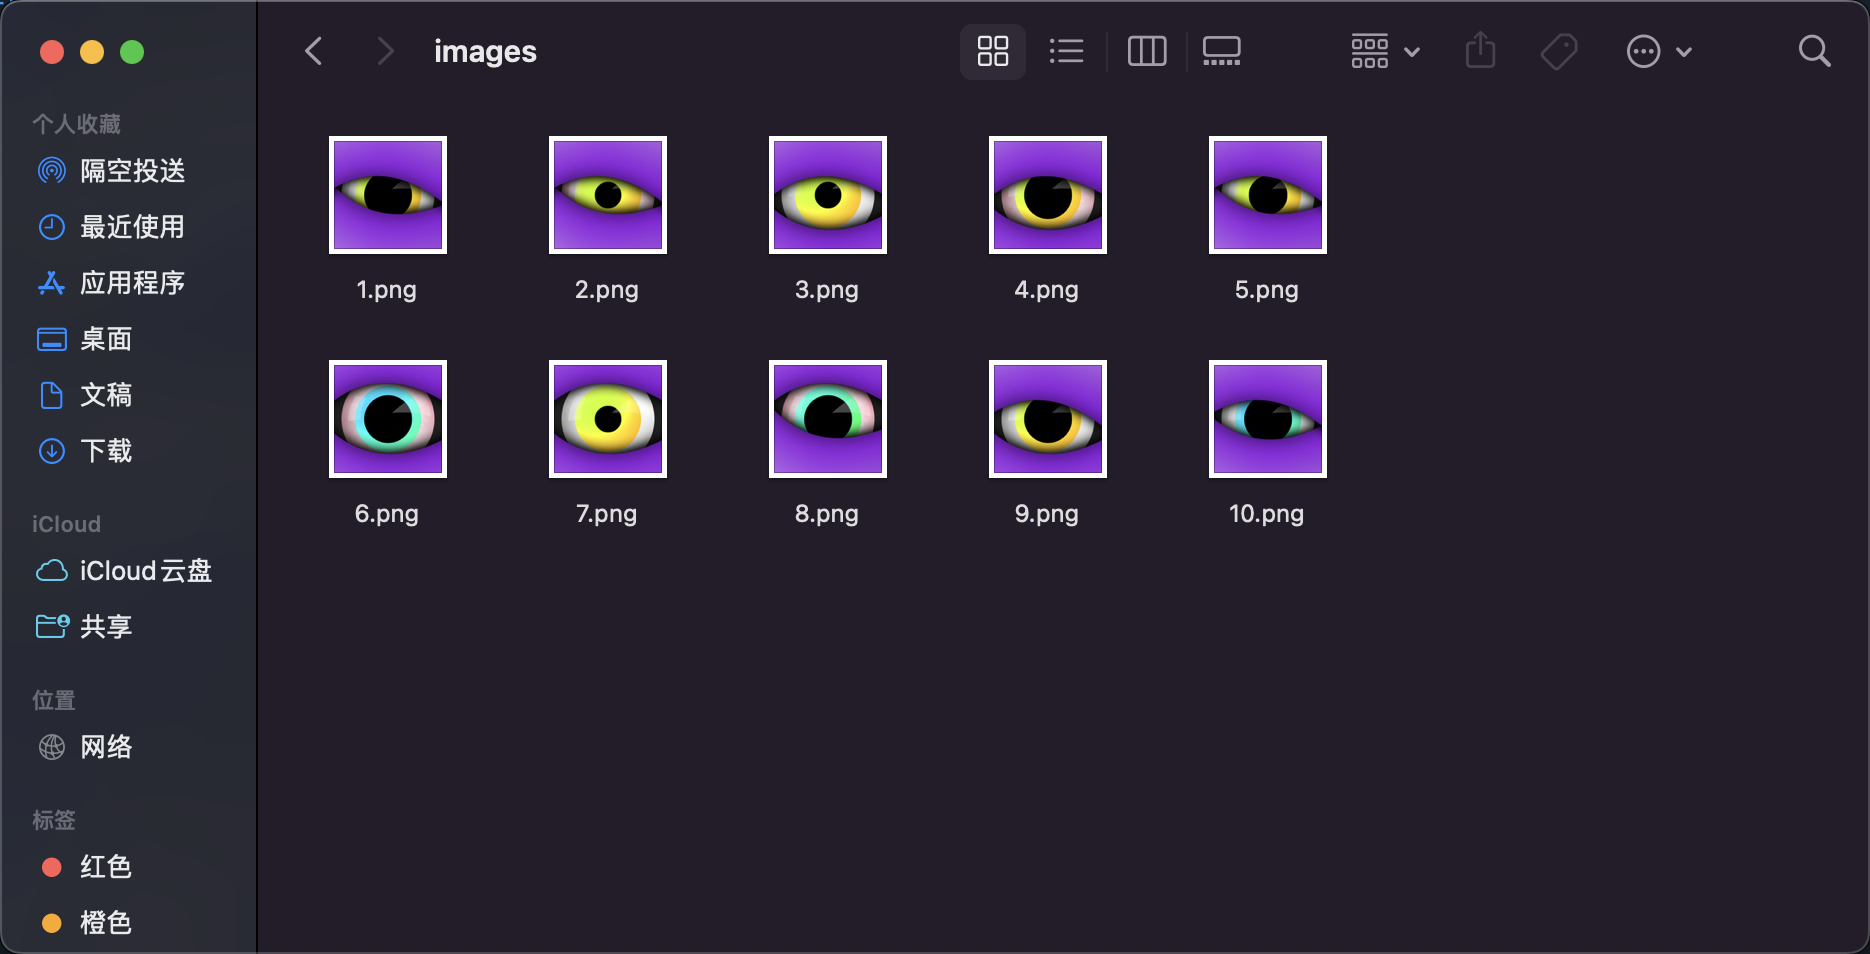
生成的10张眼睛图片大概就是下面的样子
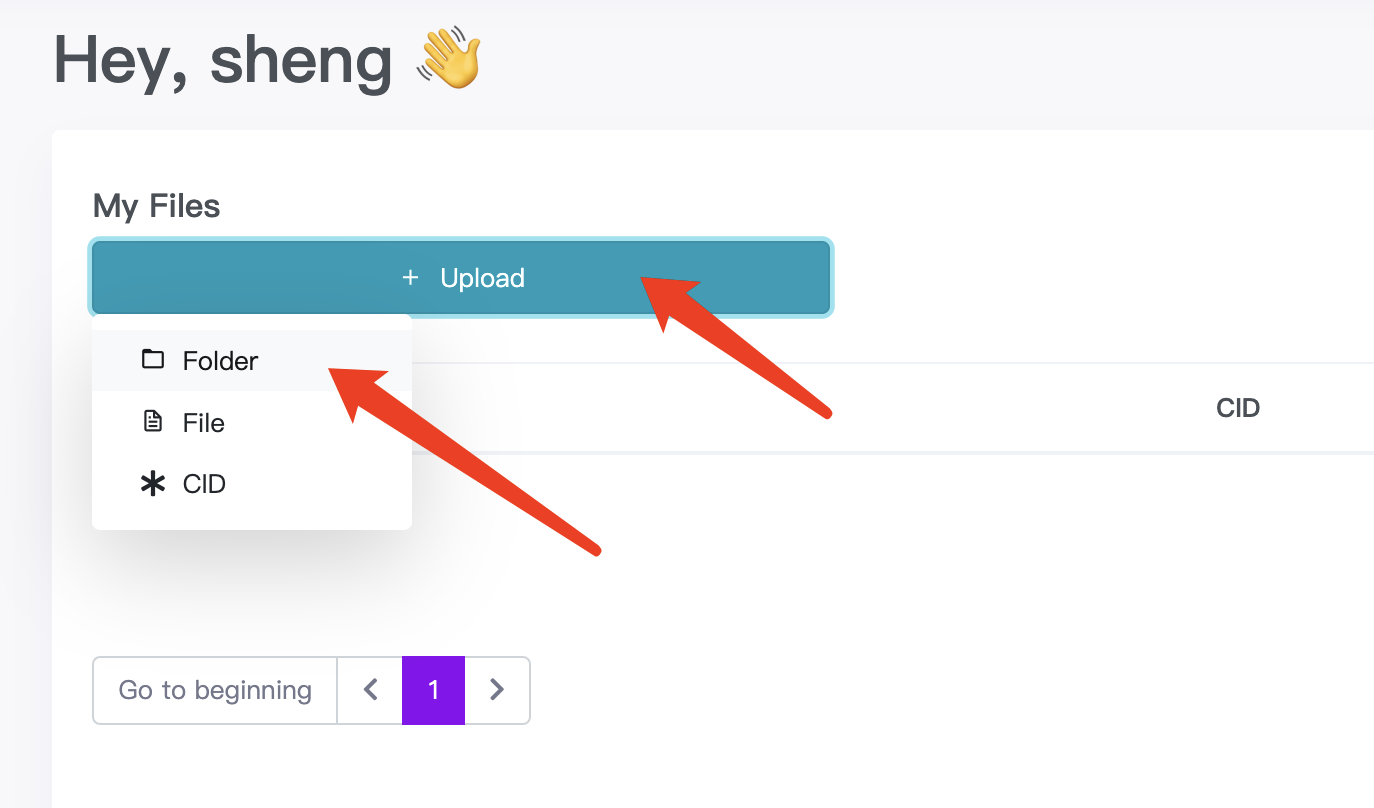
- 将图片上传至ipfs网络文件系统
我这里使用的是Pinata这个网站,当然了,也可以使用其他类似的,不过都是大同小异,选择自己喜欢的就好啦。
上传的时候我们需要选择Folder,也就是以目录的方式进行上传
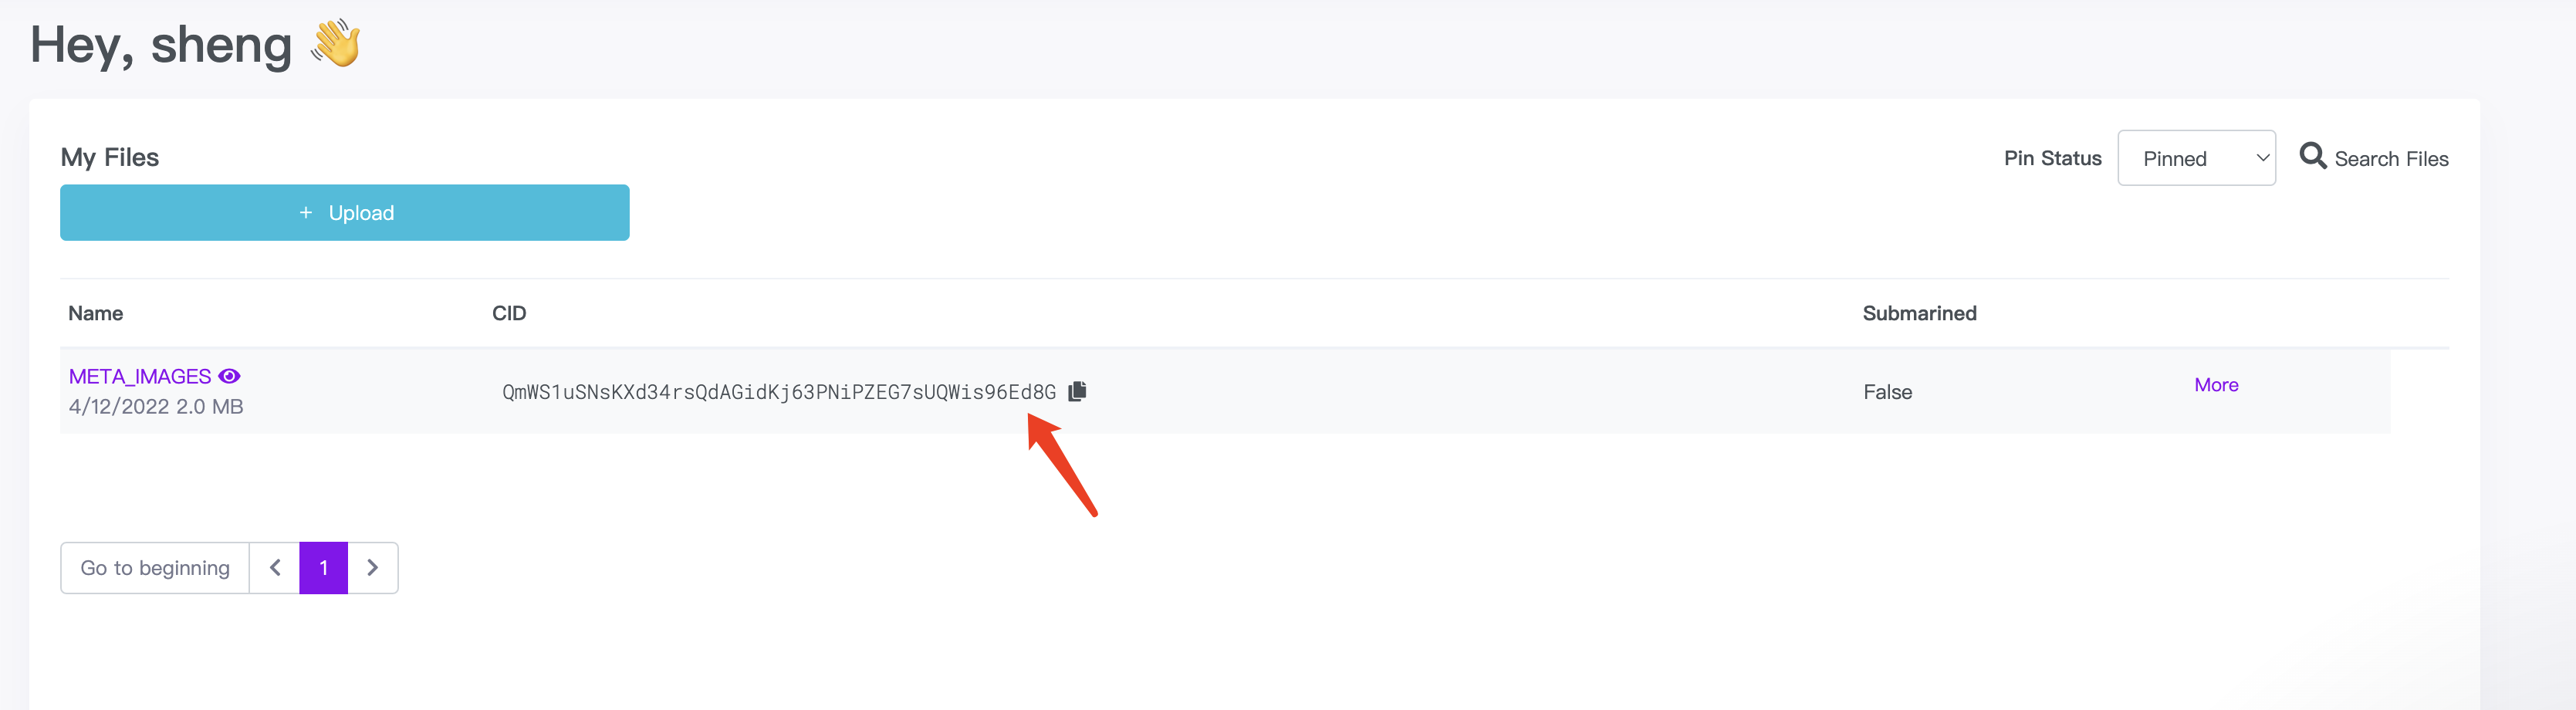
上传完成之后我们需要复制CID,也就QmWS1uSNsKXd34rsQdAGidKj63PNiPZEG7sUQWis96Ed8G
然后我们再去修改配置文件,将baseUri改为上面的CID
$ vim src/config.js
const baseUri = "ipfs://QmWS1uSNsKXd34rsQdAGidKj63PNiPZEG7sUQWis96Ed8G";
更新metadata的信息
$ npm run update_info

> hashlips_art_engine@1.1.1 update_info /Users/ansheng/WorkSpaces/hashlips_art_engine
> node utils/update_info.js

Updated baseUri for images to ===> ipfs://QmWS1uSNsKXd34rsQdAGidKj63PNiPZEG7sUQWis96Ed8G
Updated description for images to ===> There are so many eyes
Updated name prefix for images to ===> Nano
再次查看1.json的metadata
$ cat build/json/1.json
{
  "name": "Nano #1",
  "description": "There are so many eyes",
  "image": "ipfs://QmWS1uSNsKXd34rsQdAGidKj63PNiPZEG7sUQWis96Ed8G/1.png", # 这里的image信息已经更新
  "dna": "749f101fac6b14a3ad2024d979ad264167b8f104",
  "edition": 1,
  "date": 1649751292195,
  "creator": "ansheng",
  "attributes": [
    {
      "trait_type": "Background",
      "value": "Black"
    },
    {
      "trait_type": "Eyeball",
      "value": "White"
    },
    {
      "trait_type": "Eye color",
      "value": "Yellow"
    },
    {
      "trait_type": "Iris",
      "value": "Large"
    },
    {
      "trait_type": "Shine",
      "value": "Shapes"
    },
    {
      "trait_type": "Bottom lid",
      "value": "Middle"
    },
    {
      "trait_type": "Top lid",
      "value": "Middle"
    }
  ],
  "compiler": "HashLips Art Engine"
}
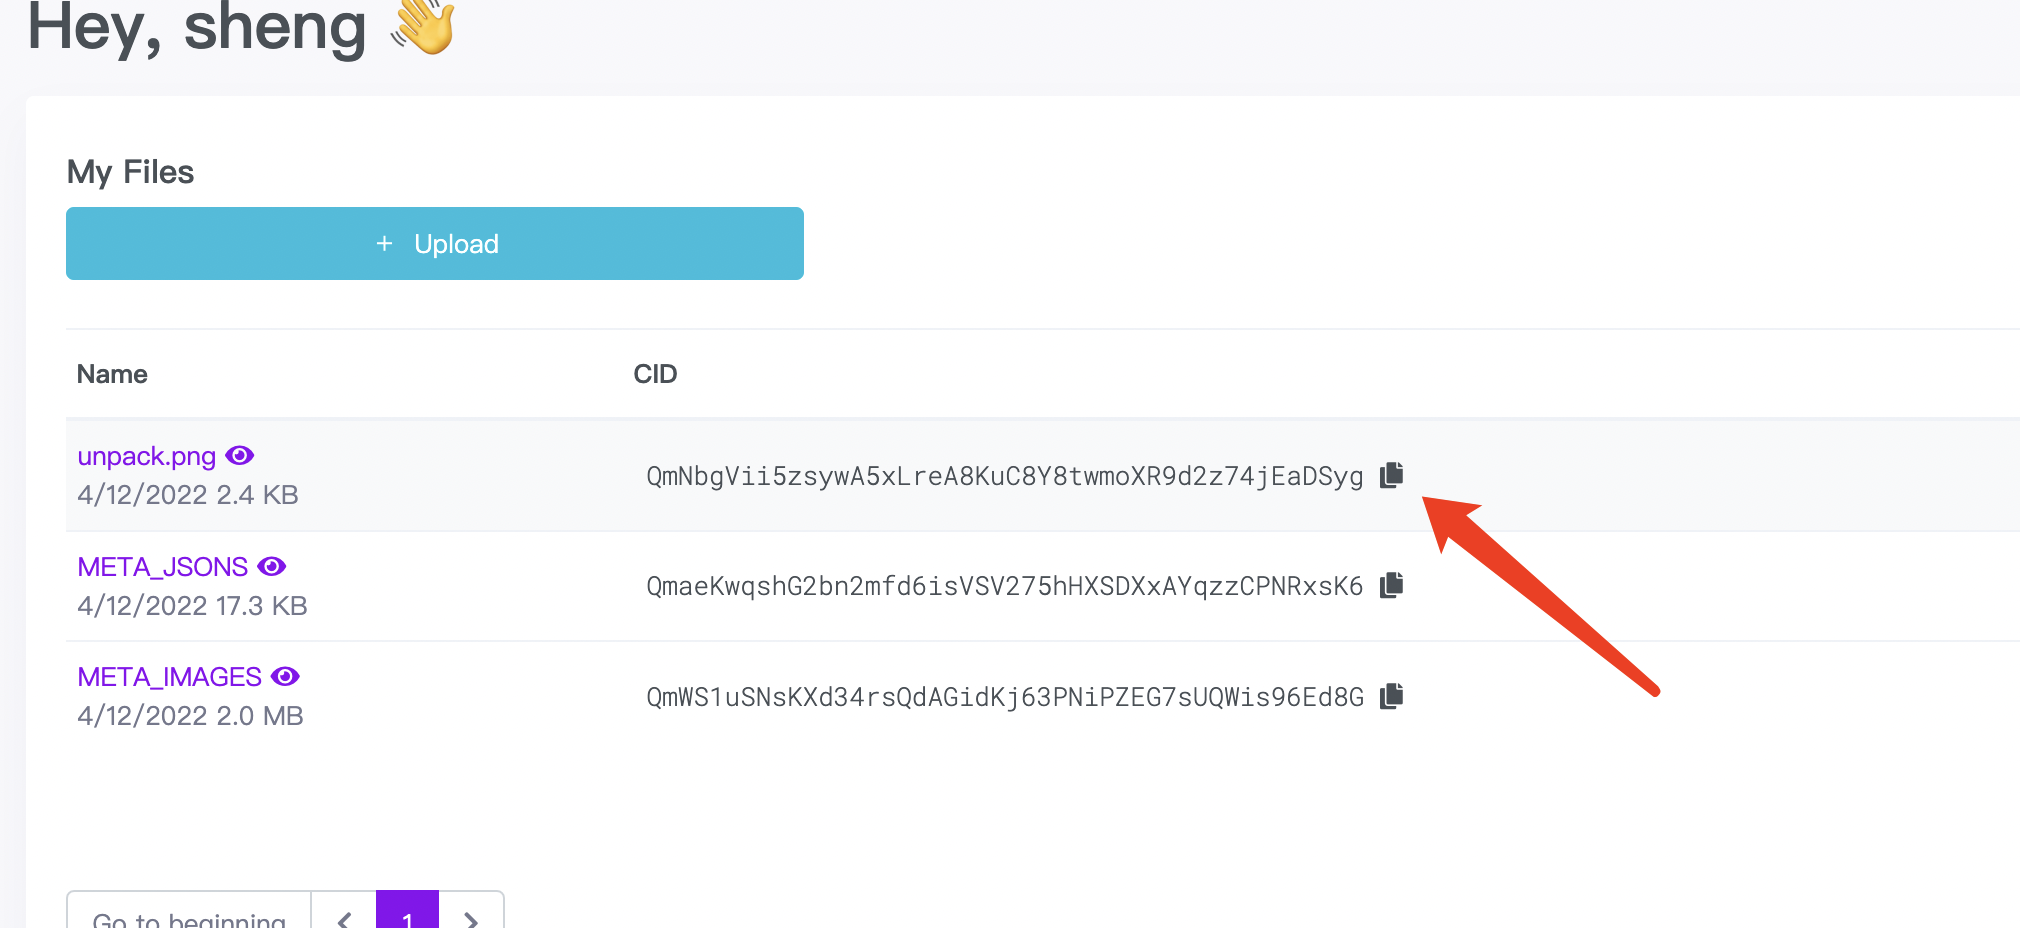
- 将metadata上传至IPFS
和图片类似的方式,将build/json以Folder的方式上传到IPFS中,上传之后如下图所示
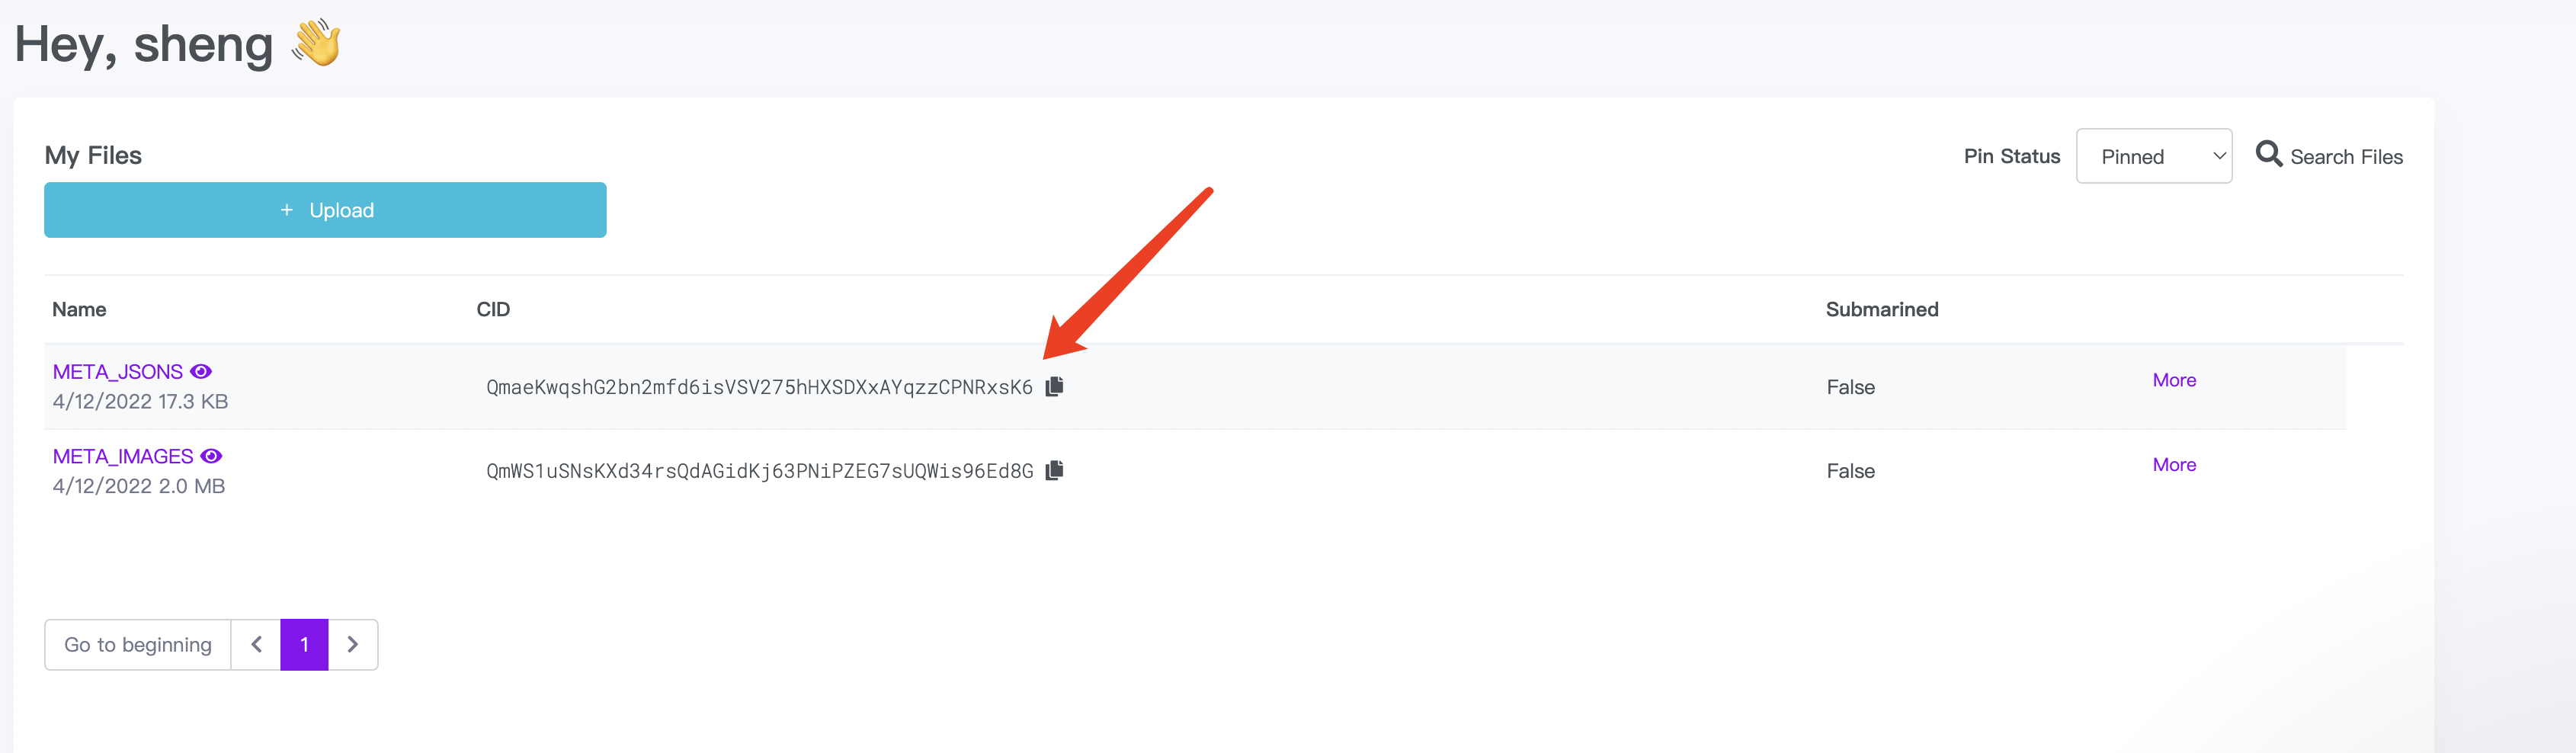
JSON的CID为:QmaeKwqshG2bn2mfd6isVSV275hHXSDXxAYqzzCPNRxsK6
- 上传盲盒图片
使用黑色的背景图当作盲盒的背景图片
cp layers/Background/Black\#1.png unpack.png
上传至IPFS,这里选择File
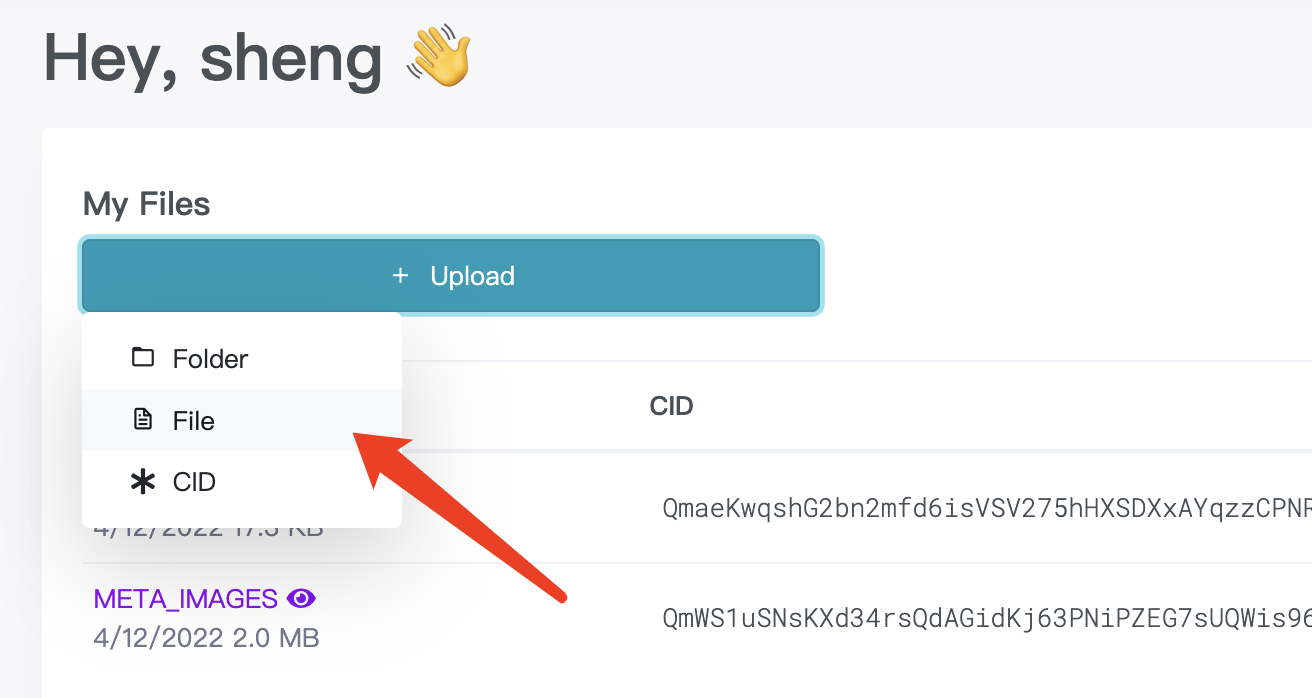
上传完成之后得到的CID是:QmNbgVii5zsywA5xLreA8KuC8Y8twmoXR9d2z74jEaDSyg
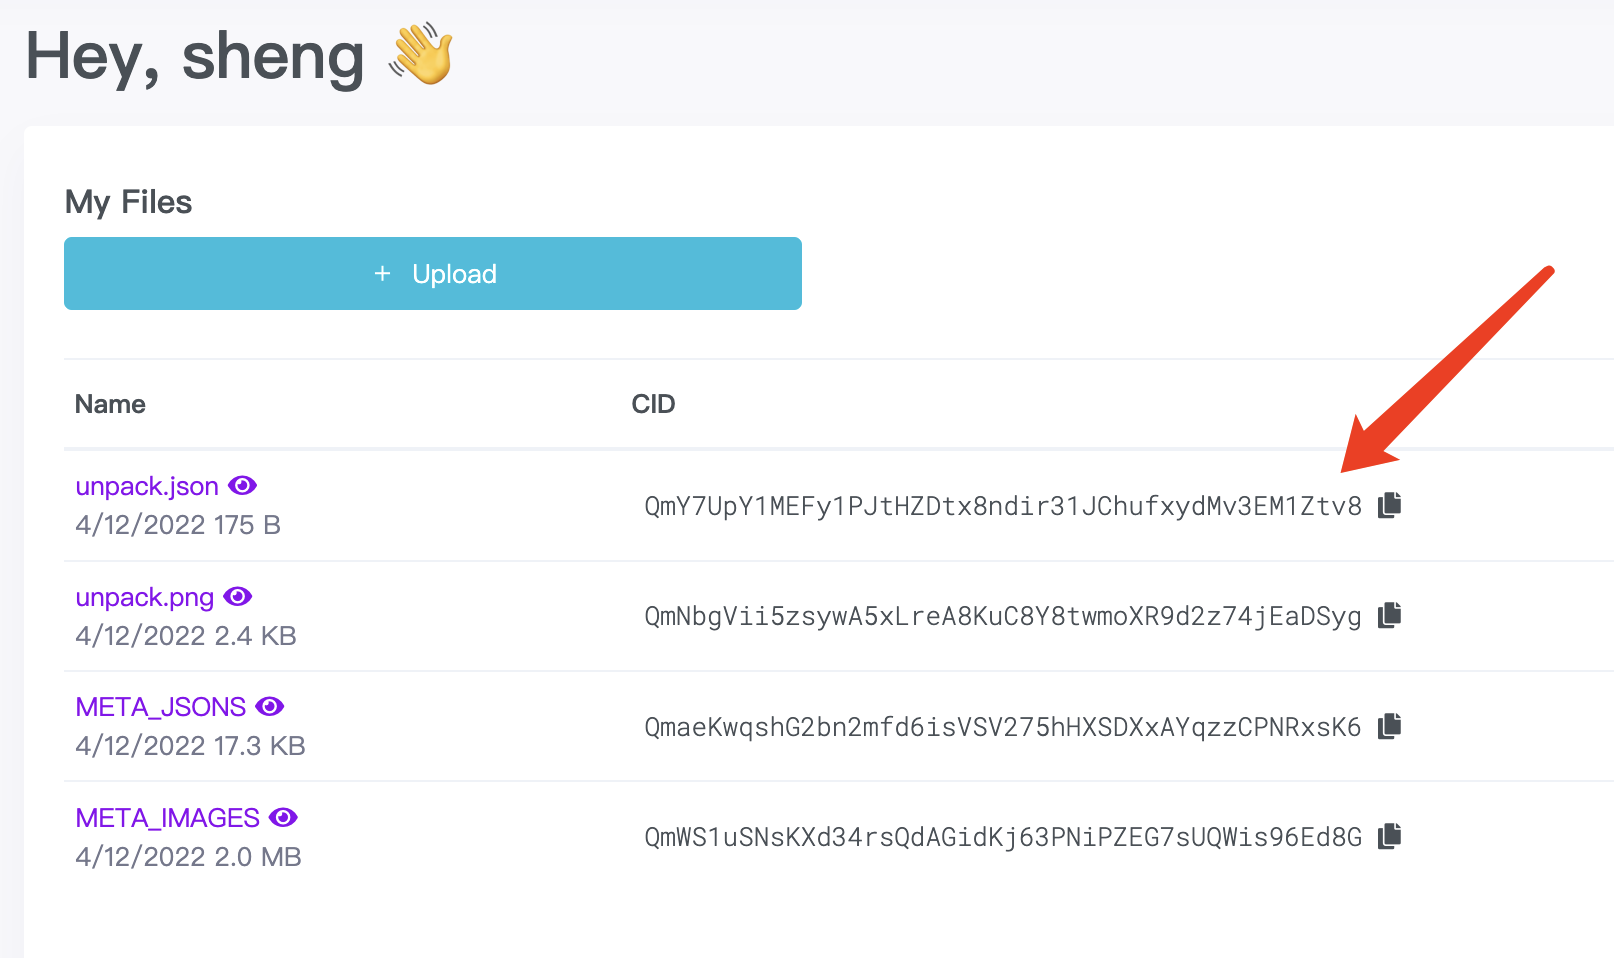
- 上传盲盒的metadata
首先创建一个名为unpack.json的文件
$ vim unpack.json
{
    "name": "Nano Meta 盲盒",
    "description": "Welcome to the world of the Metaverse",
    "image": "ipfs://QmNbgVii5zsywA5xLreA8KuC8Y8twmoXR9d2z74jEaDSyg"
}
然后将unpack.json上传到IPFS,和unpack.png上传方式一样,最后得到的CID是:QmY7UpY1MEFy1PJtHZDtx8ndir31JChufxydMv3EM1Ztv8
到此,结束了,已经获取到了相关的CID,下一步就是只需要在创建盲盒合约的时候把CID填入进去即可。
最后别忘了把node版本切换到默认版本哦
nvm use system